A Comprehensive Guide to Wrist and Hand Examination: From History to Motion
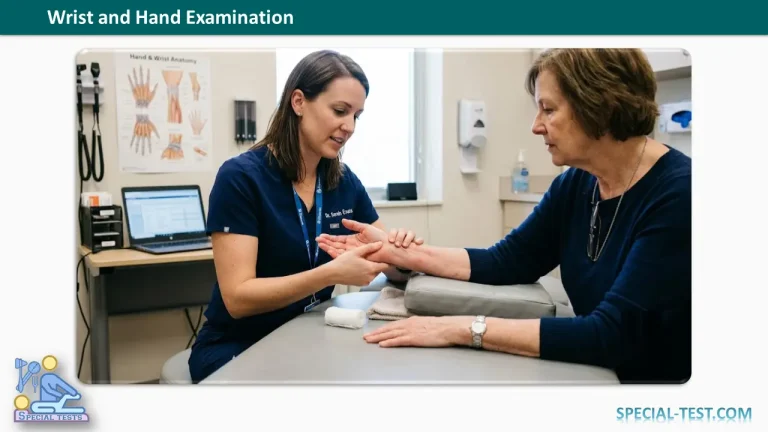
Clinical examination of the hand and wrist requires a highly systematic approach. Because the hand is a complex functional organ, even subtle misalignments or history details can point to significant underlying pathology.
Here is a structured, step-by-step breakdown designed for clinical practice.
1. Structured History Taking
When evaluating hand and wrist complaints, targeted history taking narrows down the differential diagnosis before you even touch the patient. Focus on these five primary areas:
- Pain: Note the exact onset (sudden injury vs. spontaneous), type, precise location, and duration. Always ask about remote injuries to rule out Complex Regional Pain Syndrome (formerly known as RSD). Document aggravating/relieving factors, activity restrictions, and any guarding behavior.
- Swelling: Determine the onset, location, and whether it is temporary or permanent. Track flare-ups (severity, frequency, duration), previous treatments, discolored skin, and any association with systemic symptoms like fever or morning stiffness.
- Deformity: Document the onset and progression, looking for abnormal contours, as well as palm and finger alignment.
- Loss of Function: This is a critical metric. The hand is an intricate mechanical organ:
- 45% of hand function is utilized for grasp.
- 45% is used for pinch (key, tip, and chuck pinch).
- 5% is dedicated to hook function.
- The remaining 5% functions simply as a “paperweight” (the most primitive function).
- Loss of Power: Document any noticeable decreases in absolute strength or fine motor dexterity.
Crucial Additions: Always document hand dominance, the patient’s occupation, and the exact impact on Activities of Daily Living (ADLs). Remember to review past hospitalizations, treatments (type, dose, frequency, response, and side effects), and precise trauma details.
2. Visual Inspection
To begin the physical exam, position the patient’s hand comfortably on a pillow. Ensure the entire upper limb (both the affected and unaffected sides) is fully exposed for accurate comparison.
Assessing Alignment
- Axial Alignment: When viewed from the dorsal or volar aspect with the fingers and thumb adducted, the forearm, wrist, and hand (aligned with the middle finger) should form a straight line. Clinical Note: Look for ulnar deviation at the MCP joint or radial deviation of the wrist, which are classic signs of Rheumatoid Arthritis (RA).
- Sagittal Malalignment: Check for a visual “step-off,” which indicates a PIP joint dislocation. You may also observe a flexion deformity at the MCP joints due to an extensor slip rupture in RA (Vaughan-Jackson lesion), or a classic “dinner fork” deformity indicative of a Colles’ fracture.
- Rotational Malalignment: Evaluate this using two distinct methods:
- Have the patient partially flex their fingers together at the MCP joints; in a supinated hand, the nails of the index, ring, and little fingers should naturally face slightly away from the long finger.
- Have the patient flex each finger individually into the palm; every finger should point directly toward the scaphoid tuberosity.
Regional Inspection Checklist
The table below outlines key physical signs to look for across different anatomical zones of the hand and wrist:
| Anatomical Region | Key Physical Signs to Inspect |
| Dorsal Aspect | Nails: Vasculitic changes (local infarction in RA), splinter hemorrhages, periungual telangiectasias (SLE/scleroderma), pin-size pitting (psoriasis), hyperkeratosis, onycholysis, discoloration, ridges, pallor (anemia), or paronychia. Fingers (DIP to MCP): Mallet finger, erythema, sausage digits, arthritis mutilans, tophi, swan-neck/boutonniere deformities, Z-deformity of the thumb, Bouchard’s nodes (PIP), Heberden’s nodes (DIP), Garrod’s pads, ulnar deviation, clawing, or contractures. Note: Hair normally stops at the MCP joint. Hand & Wrist: Dropped knuckles (metacarpal fracture), first web space or interossei wasting, carpal bossing, prominent ulnar head (evident in pronation), silver fork deformity, volar subluxation, or ganglia. |
| Radial Aspect | Thumb & 1st MCP Joint: Check for laxity or swelling (Skier’s/Gamekeeper’s thumb, basilar joint arthritis). Wrist: Inspect the anatomical snuffbox (bordered by the EPL dorsally, and the APL and EPB volarly) for focal swelling. |
| Volar Aspect | Fingers & Palms: Look for pulp space pits (Raynaud’s phenomenon) or deep swelling (Felon), a “jersey finger” (FDP avulsion), and palmar skin cords or nodules (Dupuytren’s contracture). Signs of Flexor Tendon Sheath Infection (Kanavel’s Four Signs): 1. Fusiform digital swelling. 2. Tenderness along the entire volar flexor sheath. 3. Finger held in a flexed posture at rest. 4. Severe pain elicited upon passive extension. Wrist & Spaces: Check for thenar/mid-palmar space infections, thenar/hypothenar wasting, and isolate the Palmaris Longus tendon (have the patient oppose the thumb and little finger while flexing the wrist). Inspect the FCR, FCU, and look for a compound palmar ganglion. |
| Ulnar Aspect | Hypothenar Wasting & Deformities: Look for advanced hypothenar atrophy and evaluate the ulnar head. In RA, volar subluxation of the carpals combined with dorsal subluxation of the ulnar head creates a highly prominent deformity known as Caput Ulna Syndrome. |
3. Palpation
Palpation confirms your visual findings and localizes structural tenderness.
Dorsal Palpation
- Fingers & Metacarpals: Palpate the extensor mechanisms for mallet finger, check the collateral ligaments (especially the thumb MCP), and feel for joint effusions. Check the metacarpal shafts for point tenderness or deformity, paying close attention to the base of the first metacarpal for a Bennett’s fracture.
- Wrist Structures: Locate the radial styloid and palpate the first dorsal compartment (APL and EPB) for tenovaginitis (De Quervain’s disease). Find Lister’s tubercle (~2 cm ulnar to the radial styloid).
- Snuffbox & Compartments: Palpate the anatomical snuffbox to feel the dorsal branch of the radial artery and check for scaphoid fractures. Move 3–4 mm distally to feel the basilar joint. Assess the second dorsal compartment (ECRL/ECRB) for crepitus (Intersection Syndrome) or ganglia, the fourth dorsal compartment (EDC) for RA attrition, and the TFCC just distal to the ulnar styloid.
Palmar/Volar Palpation
- Soft Tissue Spaces: Firmly palpate to confirm a deep felon, flexor sheath infections, or fluid collections in the mid-palmar and thenar spaces. Feel for trigger finger nodules at the A1 pulley tracking along the flexor tendons.
- Bony Landmarks & Tunnels: Palpate the scaphoid tubercle, the hook of the hamate, and the pisiform. Check the pisohamate ligament and Guyon’s canal for ulnar nerve compression. Locate the FCR tendon and the median nerve lying directly between the Palmaris Longus and the FCR. Note that the proximal limit of the volar carpal ligament corresponds neatly with the distal radial crease.
4. Range of Motion (ROM)
Always compare active and passive range of motion against the unaffected limb. Normal physiological values include:
Wrist Joint Motion
- Dorsiflexion (Extension): 60° – 70°
- Palmar Flexion: 60° – 80°
- Radial Deviation: 20°
- Ulnar Deviation: 30° – 40°
Finger Joint Motion
- DIP Flexion: 70° – 90°
- PIP Flexion: 110°
- MCP Flexion: 80° – 90°
- MCP Hyperextension: Normal up to 70° (typically most pronounced in the index finger).
The Mechanics of Abduction and Adduction
True abduction and adduction are highly accessible at the MCP joints when extended, but impossible when flexed. This is due to the “Cam Effect” of the metacarpal heads:
The metacarpal heads are shaped like a cam, featuring a significantly larger volar articular component compared to the linear distal surface. In full extension, the collateral ligaments are lax, allowing movement in the coronal plane (this structural mechanics dictates the “James Position” or safe position for splinting/immobilization).
Conversely, the IP joints are strictly bicondylar joints without a cam profile, meaning they exhibit zero lateral movement regardless of flexion or extension.
Thumb-Specific Movements
To thoroughly evaluate the highly mobile first digit, systematically test all five degrees of freedom:
- Flexion
- Extension
- Adduction
- Abduction
- Opposition (touching the tip of the thumb to the tip of the pinky finger)